Also, I would like to comment that I want a clean surface (no patterns on wood or any of that distracting stuff) and a clean white wall in front of me (no books or any of that distracting stuff). I get easily distracted.
Also, im just looking at the setup of the desk surface and other useful items (such as storage room), not the arrangement of the computer and stuff.
Im kind of a messy kind of guy and really want to keep the surface clean, so I can force myself to become more organized.
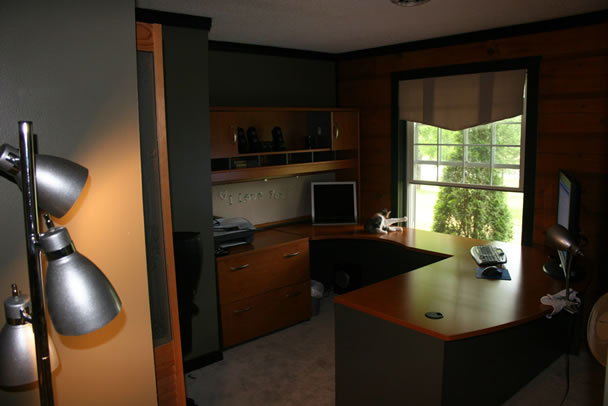
This desk seems to have lots of space
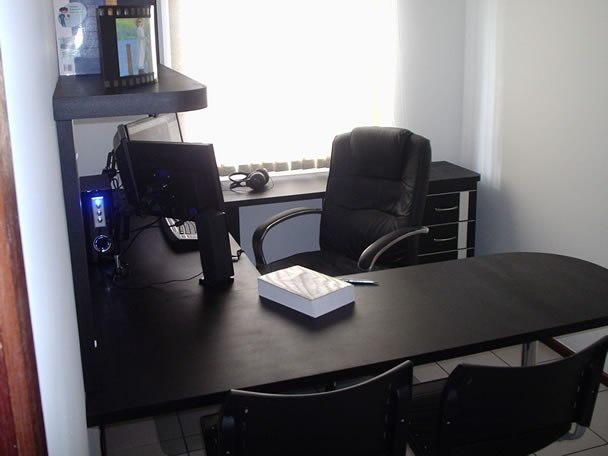
This desk also offers plenty of room. I would consider building my desk stiffer tho.
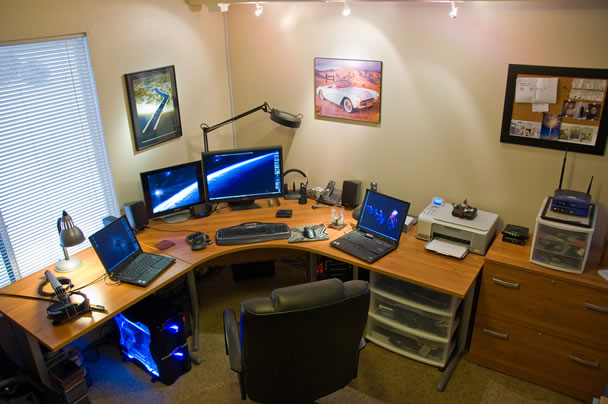
This desk is also good. I wouldn't have a tower with distracting light. The desk would be clean too. Speakers would belong on the wall, and the lamp cannot overhang from like that...
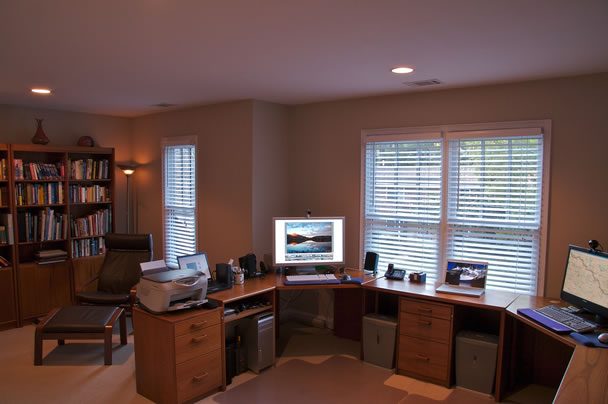
My desk would also cover a very large area. you get the idea by now.
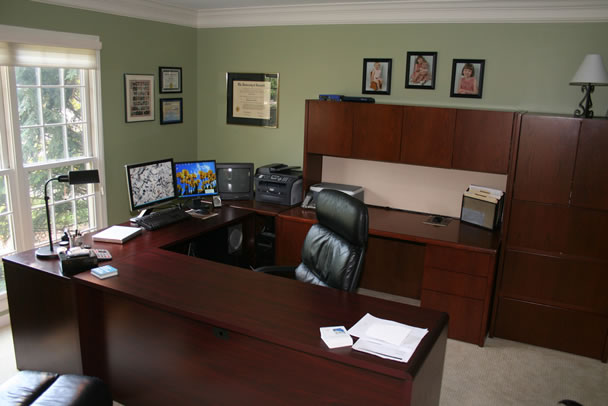
And this one...
My next step will be to design such a desk. It might not seem much to think of, but I want to make a desk that can be disassembled in case I move somewhere else. A desk like this will be huge and what if I want to add more space to it? I will build it kind of like a puzzle, but stiff like a brick. If I move it into a smaller room, just build special corners to adapt to the room, or a new segment of the desk rather than building an entire new, shorter one.
By the way, check this trick out! http://lifehacker.com/179911/hack-attack-the-cordless-workspace-sort-of

By the way, check this trick out! http://lifehacker.com/179911/hack-attack-the-cordless-workspace-sort-of

The desk is now free of messy wires at the bottom.

After reviewing these pictures, I have proceeded to sketching the table in the Engineering East Building. I have studied at these tables for a long time and I can say that I love them by now. This is a quick sketch that I drew out of these formentioned tables:
Table I drew
This table is very rigid. It could even jump out of an airplane and still fall on its two legs. I did quick measurements of it HERE.
This table looks very similar to the actual one where I was taking measurements from. It is about 8 feet long. I was thinking of building it out of wood entirely, but then it might not be as rigid as I thought. I want to use cheap materials. the "I" shaped legs are actual steel rectangular beams. The long board at the bottom running from leg to leg is another metal sheet with a thick beam at the top and bottom.
The challenge here is to assemble everything, since it is desired to dissasemble the table in the future. The questions are: What methods of joining the parts will be used? What materials can be used to keep cost to a minimum?
If I can manage to build the legs and the bottom plate out of metal then these would be rigid enough and I wouldnt have to worry about them anymore. Also, this will make them rigid enough that it will decrease the amount of work required to build them out of metal joints and wood, while still remaining light enough as one piece to carry them around.
UPDATE:
So I didn't know anybody who would weld metal for me, and I didn't go around looking for metal either. I decided to build everything out of wood. First I made a design that uses 2x4's and I changed it to 2x3's. I think 2x3's will do the job.
The design did change a lot, but it is finished. I did not include the bolts that will connect the "legs" to the "back portion" of the table. I will show these later on when I build the table.
Here it is:


 When you varnish your table with stain and polyurethane in the same can, make sure you MIX IT. This will happen.
 This is my table without the top part
 That white line on the leg of the table is a spot that I missed when I stained it :/

UPDATE:
So I didn't know anybody who would weld metal for me, and I didn't go around looking for metal either. I decided to build everything out of wood. First I made a design that uses 2x4's and I changed it to 2x3's. I think 2x3's will do the job.
The design did change a lot, but it is finished. I did not include the bolts that will connect the "legs" to the "back portion" of the table. I will show these later on when I build the table.
Here it is:

Note that this table has no top. This will be covered with plywood 3/8 inches thick.
These are the dimensions of the plywood. I will be purchasing two big 4x8 feet.

The rest of my work with all of the dimensions and everything is HERE.
The following is a few pictures that I took of my finished product:
This is my finished table. I also added "L" shaped brackets (four of them) to hold the top of the table against the structure. If anybody wants to see pictures of them or anything else, let me know. I didnt take pictures when I was building the table, since it was too much trouble.

