Do not spend too much time on this. The outcome will be as good as the painter. take your vehicle to a shop and be ready to spend some good money on a paint job.


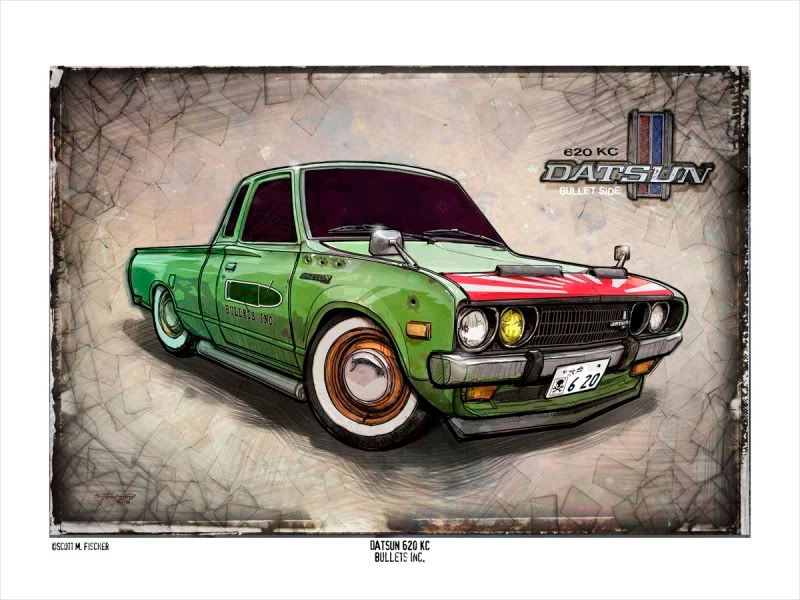
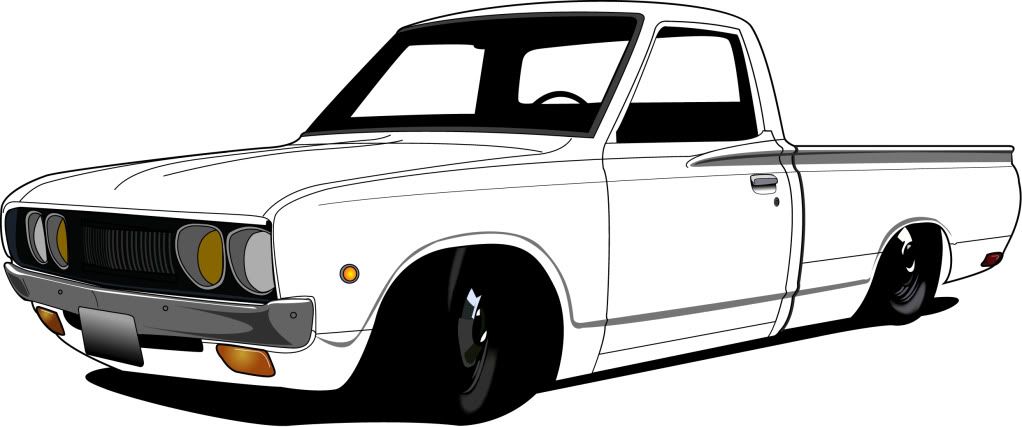
I am currently dealing with this. I want to paint my Datsun 620 but have a hard time deciding.
First, I don't want to spend a lot of money doing it myself since I don't have the equipment to do it professionally, therefore I want to spray paint it with cans.
Second, the color. I have not decided on the color yet.
Third, the body has not been properly prepared, so I kind of would like to prime the vehicle and drive it like that for a few months and fix the dents little by litte.
I just went to Wal-Mart and found some cool looking paint for a low price. I have no idea how much paint am I going to need. I want to paint it mint green with white or brown. Or mint green with black. Or any combination with those. The guy at walmart told me that this enamel paint would not come off the truck that easily. I dont know.
Here is a useful link so far:
http://www.doityourself.com/stry/pros-and-cons-of-using-enamel-car-paint#b
And kidharris at http://www.instructables.com/id/Paint-Your-Car-With-Rustoleum/
"This is in response to a number of comments scattered throughout these pages. Although I am not a professional painter, do not work in a paint store, and have never painted a car with Rustoleum, I have painted a few cars in my 60 years and have developed a few opinions on the subject.
It's been my experience that fisheye's are caused by not completely removing all the wax off the old paint job, particularly if there was any silicone-based wax on the old paint. The wax must be removed with a solvent/cleaner/wax remover, sanding will just spread it around. If you know that you are going to be painting the car sometime in the future, stop waxing it and allow the old wax to wear off as much as possible and then there will be less to clean off.
In addition orange peel is caused by too much humidity in the air, or water in the paint, and can be alleviated to some extent by controlling the drying time using more thinner and/or painting on low humidity days or in a humidity controlled environment. I once (when I was young) painted a van under a awning while it is was pouring rain, you should have seen the finish on that.
I am not a big fan of clear coats. Most professional auto painters love clear coats because they do not have to be buffed and polished which saves them a lot of time and therefore they make more money. Paint stores love clearcoat because they get to sell more product. It is crucial in using clear coats that you use one that is designed for the paint. Even then most of the really crappy looking paint jobs that you see on the highway where the paint looks all wore out and patchy/chalky/faded on the top of the hood and roof is caused by the clear coat wearing away and the paint underneath not having any wax on it. Sometimes too thick of a clearcoat causes it to act like a magnifying glass and damages the paint underneath and can cause the clearcoat to peel off, especially over dark colors. This, of course, also gives the professional auto painter more work. In addition, clearcoat makes small paint repairs a real pain to do.
Although clearcoat definitely has its place (some paints will not shine well without it, and it can add depth to special effects) I'm a little tired of people hollering clearcoat, clearcoat, clearcoat like it is the ultimate cure for all painting problems and will make your paint job last forever. It simply is not true.
Hope this helps some of you who are contemplating painting is your car with what ever paint you use."